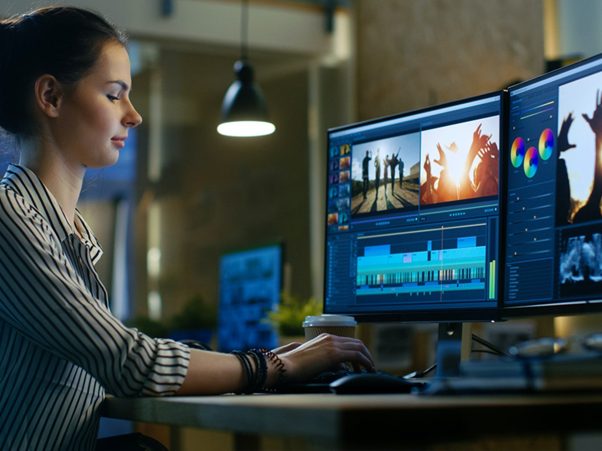
Turning images into interesting and engaging content at editing time may not be an easy task. But with the right tools and a little creativity, it can become something pleasurable and of quality.
Human beings always seek a narrative to follow, whether it be for photos, videos, movies or series. All these examples tend to hold the attention of those watching and also stimulate people’s imagination.
With this in mind, content creation through editing programs has grown increasingly, with these content being professionally like movies or online courses, or also gameplays, YouTube tutorials and independent animations.
But how can you produce and edit videos in a simple way that will yield good results?
To answer that question, let's talk a little bit about the aspects of video editing that you should keep in mind at the time of editing, thinking about the specific tools of Movavi Video Editor.
With extensive tool options, this software can be of great help to both professionals in the industry and beginners. The app has features that streamline a simple cutting edition, as well as adjustments and effects for audio and video.
Contents
Toggle- How to make a good video edition?
- 1 – Organizing
- 2 – Observation
- 3 – Making cuts
- 4 – Making adjustments
- 5 – Final touches
- How do I use special effects on my video?
- Conclusion
How to make a good video edition?
To have a good edition of your material, in addition to using the tools and resources at your disposal correctly, it is necessary to consider some factors that can help and greatly in your creation process.
We separate some tips that can make a difference when editing your production.
1 – Organizing
A organization of your files is the key to getting a good start. If you don't set up your project and media in an organized way, it will get in your way and very long term.
Make sure your video files are correctly named and organized before you start editing. In addition, all materials and files used must be in the same folder.
Also have registered video file formats from the footage you are using, and be aware of any problems that may arise when converting your media from one format to another.
2 – Observation
Always Watch everything, watch every second of your recording from beginning to end. After a cut or effect inserted in the production, we never know how this will interfere with the whole process.
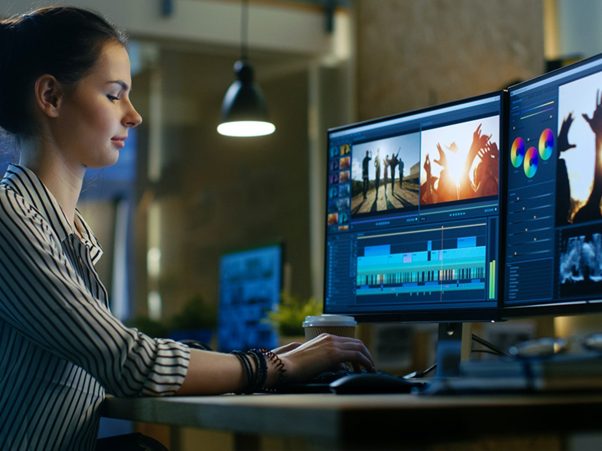
Photo by: Digital Marketing Institute
Often, a simple cut into a scene can alter the result of the entire video. Worse still, he can ruin the entire issue you've done so far. Even more by adjusting aspects of time and speed, you may end up desynchronizing the entire video.
Thus, it is very important to watch the video several times every issue that is made. Yes, it is a lengthy and monotonous process, but it is as the saying goes: haste is the enemy of perfection.
3 – Making cuts
Another detail we can also accomplish is Mount up and make a cut in editing.
Add all your video media to a timeline and make sure the frame size and playback are well aligned. You can also start a new timeline with the best scenes to make a frame collage.
At this stage, play with the various transition options available. Every good film director has well marked and defined transitions, almost as a signature or trademark. Therefore, in any professional video edition, it is also crucial to have a good transition between environments.
It is important to remember to constantly save your work in the cloud or on a hard drive so you don't have problems with file loss.
4 – Making adjustments
With these processes already carried out, we go to the part that begins to shape your work, that is, the edition.
This is where your cuts and adjustments begin to resemble a well-run job. Always check out the sound settings and color and make sure the dialogue is quite understandable.
Add your songs, titles and other information at this stage of the process. Don't forget to adjust the audio, and refine all the details you're still missing.
Don't edit your entire video yet! Further forward, we will start the real edition and add the special effects as well.
5 – Final touches
Here we are in the final process of mounting your video, but we can refine More even your final product.
Set the rhythm of the video. A slow scene can increase tension or bore the viewer you are watching. On the other hand, a quick scene can increase the public’s euphoria or only cause headaches to those who are following the scenes.
Some editors cut scenes in several different ways before finding the right rhythm of your presentation, so don't be discouraged if you have to crop a few times until you find the right spot for your video.
After having a final cut and well calibrated adjustments, we can finally focus on finalizing the sound, color and special effects that will complement its editing.
How do I use special effects on my video?
With the media project already forwarded and organized in a good way, we can start the process of ending with filters and video effects.
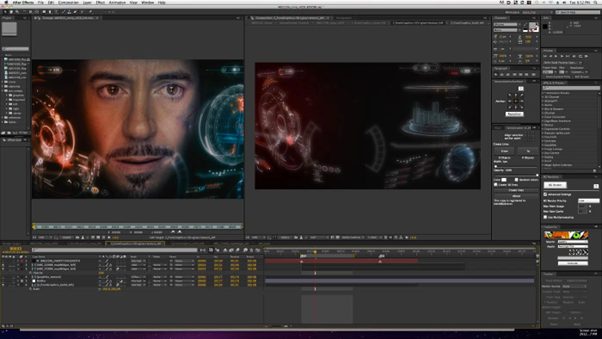
Photo by: Samba Tech.
Video filters are very useful tools to give your work a final touch and give that professional appearance. In them, we can make subtle adjustments like deepening colors or managing brightness.
We can also completely change the appearance of a video by applying a retro or black and white VHS filter. Similarly, effects such as distortion stabilization, cutting or noise reduction offer very simple changes, but that can improve and make a difference in the final quality of your filming.
Conclusion
In short, there are 5 different stages in the video editing process, besides the completion with special effects. With good software and good editing tools, you just need to follow these steps to be able to produce quality material. In addition to Movavi, there are many other software to be chosen, such as the iMovie, FlexClip and DaVinci Solves.